


If opening your closet makes you want to immediately close it again, it’s time to build a real closet organization system. The good news is that you don’t need a custom-built unit or a professional organizer. With the right approach and a few affordable tools, you can create a closet that makes getting dressed a genuine pleasure instead of a daily chore.
Step 1: The Great Purge — Take Everything Out
No closet organization system can work around clutter. The very first step is removing every single item from your closet. Yes, everything. Lay it all on your bed or the floor so you can see the full scope of what you own. This step is non-negotiable because organizing things you should discard simply creates harder-to-find clutter.
As you sort, create four piles: Keep, Donate, Sell, and Trash. Use the one-year rule as a guide—if you haven’t worn it in the past 12 months and don’t have a specific occasion coming up, it’s time to let it go.
Step 2: Categorize What You Keep
Before a single item goes back into the closet, group your keeps by category: tops, bottoms, dresses, outerwear, shoes, accessories, and so on. This simple categorization is the foundation of every effective closet organization system because it reveals exactly how much space each category actually needs.
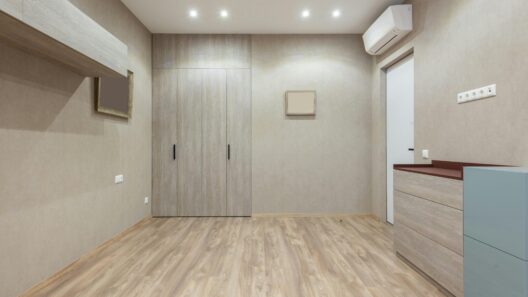
Step 3: Assess Your Closet’s Layout
With the closet empty, take a fresh look at its layout. Measure the hanging space, shelves, and floor area. Note where there’s wasted vertical space—most standard closets have 12–18 inches of unused space above hanging clothes. This is prime real estate for a second hanging rod or additional shelving.
- Standard hanging height: 66 inches from floor (for full-length items)
- Double hanging height: 40 inches top rod, 80 inches bottom rod (for shirts and jackets)
- Shelf depth: 12–16 inches works for most folded clothing
Step 4: Choose Your Core Storage Solutions
A great closet organization system typically combines several storage types working together. Here are the most effective options for most bedroom closets:
Matching Velvet Hangers
Swapping mismatched plastic hangers for slim, uniform velvet hangers is one of the single most transformative closet upgrades. They save roughly 50% of horizontal rod space compared to bulky plastic hangers, and their non-slip surface means clothes actually stay put.
Drawer Organizers for Folded Items
Use the KonMari folding method to fold clothing vertically in drawers. When items stand upright like files in a filing cabinet, you can see everything at a glance without disturbing the rest of the stack. Drawer dividers keep categories separated and prevent the inevitable drawer avalanche.
Clear Shoe Boxes or a Shoe Rack
The floor of a closet is precious space that’s often wasted on a chaotic shoe pile. A tiered shoe rack or clear stackable shoe boxes keeps footwear organized, visible, and protected. Rotate seasonal shoes to labeled boxes stored on a high shelf to free up everyday space below.
Over-the-Door Organizers
The back of your closet door can hold purses, belts, scarves, accessories, and even shoes. Over-the-door organizers add a significant amount of accessible storage without taking up any shelf or floor space.
Step 5: Organize by Color and Frequency of Use
Once your storage solutions are in place, hang clothes within each category in color order—from light to dark or in rainbow sequence. This makes it visually easier to find specific items and naturally groups similar pieces together for outfit building. Place items you wear most frequently at eye level, and move rarely-worn pieces to the back or top shelf.
Step 6: Label Everything
Labels are the secret weapon of any lasting closet organization system. Label shelf sections, bins, and boxes so that everything has a clear home. When you—or anyone else in your household—can see at a glance where things belong, items are far more likely to be put away correctly after laundry day.
Step 7: Maintain It with a 1-In-1-Out Rule
The best organization system in the world collapses without a maintenance habit. Adopt the one-in-one-out rule: every time you buy a new piece of clothing, one item leaves the closet via donation or sale. This prevents the gradual creep of clutter that leads back to the same overwhelming closet you started with.
Schedule a seasonal closet reset every three months. It takes only 30–45 minutes to swap seasonal items, reassess what you actually wore, and refresh the organization before things get out of hand.
Final Thoughts
Building a closet organization system is a project that pays dividends every single morning. You’ll spend less time getting dressed, rediscover pieces you’d forgotten you owned, and start the day feeling calm rather than frazzled. Follow this step-by-step guide, and you’ll have a closet that looks—and feels—completely transformed.